
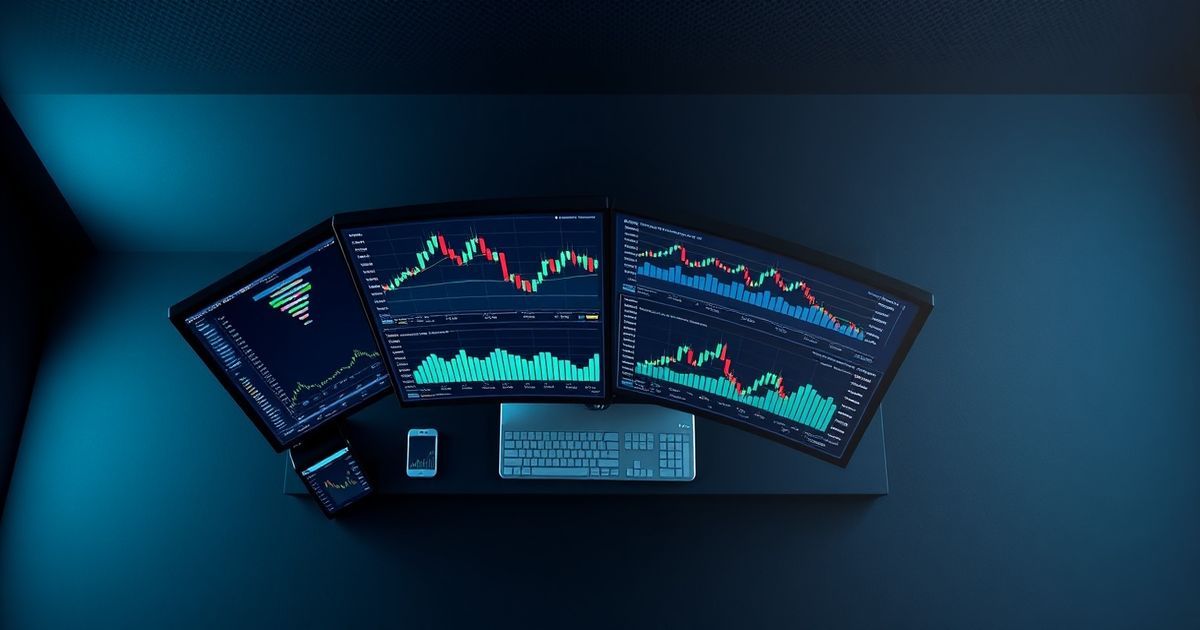
Market Profile Trading: Understanding Market Structure Like Institutions
Stop Drawing Lines. Start Seeing Structure.
You've drawn support at $50,000 because price bounced there twice. You've drawn resistance at $52,000 because it rejected twice. Feels solid. Feels like a range you can trade.
Then price punches through $52,000 on zero volume, keeps going to $54,000, and your "resistance" turns out to be as meaningful as a line in the sand.
Here's why: Traditional support and resistance are based on where price was. Market Profile is based on where volume actually traded -- how much time, how much capital, at what prices. It shows you the market's accepted value zones, not just its travel history.
Institutions have used market profile for decades. Crypto traders who learn it gain the same structural visibility -- especially when layered with Kingfisher's liquidation data.
The Core Concepts (Learn These First)
Point of Control (POC): The Fair Price
The POC is the price level where the most volume (or time) was traded during a session. It's where buyers and sellers agreed most. Where the deepest liquidity sits.
Why it matters: Price is magnetic toward POC. It acts as a gravity well. When price drifts far from POC in either direction, there's statistical pressure for it to return. Not guaranteed -- but probable.
Trading implication: POC is your first support/resistance reference. Price approaching POC from above? Expect bounce potential. Price below POC grinding up? POC becomes resistance until reclaimed.
Value Area (VA): The Acceptance Zone
The Value Area covers roughly 70% of all trading activity (one standard deviation from POC). It has two boundaries:
- VAH (Value Area High) -- Upper limit of accepted value
- VAL (Value Area Low) -- Lower limit of accepted value
- POC sits inside -- Usually near the middle
Price inside VA = "Fair value." Participants accept this price range. Trading here is two-way -- both sides active.
Price outside VA = "Unfair value." One side is rejecting these prices. The market is probing, testing, looking for acceptance.
Key trade: Fade moves outside Value Area. If price pushes above VAH and gets rejected, short back into the VA. If price drops below VAL and holds, long back into the VA. This works because unfair value tends to revert to fair value over time.
Initial Balance (IB): The Day's Opening Range
The Initial Balance is the price range established in the first 30-60 minutes of a trading session. It shows where the early participants set their stakes.
Why IB matters:
- Price staying inside IB = Consolidation, range-bound, low conviction
- Price breaking out of IB = Directional move starting, higher conviction
- IB High/Low become reference levels for the rest of the session
Trading the IB break: When price breaks above IB High with volume, that's often the beginning of a trending move. Enter on the retest of IB High (now acting as support). Target: 2-3x the IB range. Simple. Effective.
Reading Profile Shapes
Balanced Profile (Bell Curve)
POC in the middle. Symmetrical shape. Value Area clear and centered.
Meaning: Two-way market. Buyers and sellers in equilibrium. No directional edge.
Trade: Range-bound strategies. Buy VAL, sell VAH. Don't chase breakouts.
Skewed Profile (P-Shape / b-Shape)
P-Shape (heavy volume at lows, thin tail at highs):
- Strong buying at lower prices
- Weak selling at highs (thin volume = few sellers)
- Implication: Accumulation phase. Potential upside breakout
b-Shape (heavy volume at highs, thin tail at lows):
- Strong selling at higher prices
- Weak buying at lows
- Implication: Distribution phase. Potential downside breakdown
Elongated Profile (Wide VA)
Value Area is unusually wide. Price covered a large range during the session.
Meaning: Uncertainty. Market searching for value. No clear agreement on fair price.
Trade: Wait for profile to narrow (VA contraction) before committing. Wide VA = wide stops = poor R:R.
Market Profile + LiqMap: Structural Confluence
This is where market profile goes from useful to powerful.
Scenario 1: POC Aligns With Liquidation Cluster
Setup:
- Daily POC at $50,000
- LiqMap shows $600M long liquidations clustered at $49,800-$50,200
- Price currently at $48,500, rising
Analysis:
- POC = historical fair value (strong level)
- Liquidation cluster = future fuel at same level
- Combined signal: $50,000 is MEGA-resistance if approached from below, or MEGA-support if approached from above
Trade: Long with target at $50,000 (cluster + POC confluence). Stop below VAL ($48,000). R:R depends on entry but likely favorable because the level has dual confirmation.
Scenario 2: Value Area Has No Clusters
Setup:
- Daily VA: $48,000-$50,000
- LiqMap: Clean. No significant clusters in this range.
- Price at $47,000 (below VAL)
Analysis:
- VA represents historical fair value -- price should return
- No clusters means no cascade risk if price moves through VA
- Clean path back to POC ($49,000)
Trade: Long from $47,000 targeting POC at $49,000. Lower risk than cluster-based trades because no liq cascade can amplify a move against you.
Scenario 3: Cluster Outside VA (Magnet Effect)
Setup:
- Daily VA: $49,000-$51,000
- Massive short cluster at $52,500 (above VAH)
- Price at $50,500
Analysis:
- Price is inside fair value (neutral)
- But there's a magnet above ($52.5K cluster)
- If price breaks VAH with momentum, that cluster becomes the real target
Trade: Two options:
- Fade current price within VA (range play)
- Wait for VAH breakout, then ride to cluster target ($52,500)
Option 2 has better R:R because the cluster provides a defined exit. Option 1 has higher probability but undefined target. Know which game you're playing.
Trading Strategies Using Market Profile
Strategy #1: POC Bounce/Rejection
Concept: Price returns to POC. Trade the reaction.
Setup:
- Well-established POC from previous session(s)
- Price moves away from POC (either direction)
- Price returns to POC level
- Rejection candle forms at POC (confirmation)
Entry: In direction of the rejection
- Bouncing UP from POC? Long.
- Rejecting DOWN from POC? Short.
Stop: Beyond POC (allow some room -- POC isn't a precise line) Target: Opposite Value Area boundary (VAH or VAL)
Example:
- Previous day POC: $67,500
- Current price: $68,800 dropping toward POC
- Strong bullish rejection candle at $67,500
- Entry: Long at $67,600
- Stop: $67,100 (below POC)
- Target: VAH at $69,000
Strategy #2: Value Area Breakout
Concept: Price leaving Value Area = new trend emerging.
Setup:
- Price consolidated inside VA for multiple sessions
- Clear VAH and VAL boundaries established
- Price breaks VAH or VAL with volume
- Confirmation: Close outside VA
Entry: On retest of broken boundary (failed retest = strongest signal) Stop: Inside the Value Area (if retested and failed, the breakout is fake) Target: Next major level (next POC or liquidation cluster)
Example:
- BTC Value Area: $65,000-$68,000
- Price breaks above $68,000 with high volume
- Retests $68,000 (holds as support)
- Entry: Long at $68,200
- Stop: $67,500 (inside VA)
- Target: Next cluster at $70,500 or weekly POC at $71,000
Strategy #3: POC Shift (Trend Detection)
Concept: POC moving consistently in one direction = trend developing.
Setup:
- Day 1 POC: $66,000
- Day 2 POC: $67,000 (up)
- Day 3 POC: $67,800 (up)
- Day 4 POC: $68,500 (up)
Interpretation: Fair value is rising. Uptrend confirmed by POC progression.
Entry: Pullbacks to the most recent POC Stop: Previous POC level Target: Projected next POC (roughly same distance as previous shift)
Why this works: Rising POC means each day's "fair price" is higher than the last. That's institutional accumulation showing up in the data. You're following smart money's value assessment upward.
Advanced: Composite Profiles
Building Multi-Session Pictures
A single day's profile is noisy. A composite profile aggregates multiple sessions:
- Weekly composite -- Entire week's trading activity in one profile
- Monthly composite -- Entire month's activity
Why composites matter more:
- Weekly POC is stronger than daily POC (more data, more participants)
- Monthly POC is the strongest level of all (institutional timeframes)
- Composite profiles filter out daily noise
Rule: Higher timeframe POC trumps lower timeframe POC. If daily POC is $67,000 but monthly POC is $64,000, and price is at $66,000? The monthly POC is your real magnet. Daily is just noise around the bigger picture.
Profile Shuffle
Sometimes POC makes a dramatic mid-session shift. Not a gradual drift -- a sudden jump to a completely different price level.
What causes it:
- Major news event
- Large liquidation cascade (LiqMap cluster triggered)
- Institutional rebalancing
- Macro catalyst (FOMC, CPI, etc.)
Trading implication: Regime change. Old levels may not matter. New POC becomes the new reference. Don't anchor to yesterday's profile when today's just got rewritten.
Common Mistakes
Mistake 1: Trading Every POC Touch
Not every POC interaction is a tradeable event. Price can slice through POC during strong trends without blinking. Context matters:
- Is the trend aligned with your POC trade?
- Is OI confirming the direction?
- Are there clusters nearby providing additional confirmation?
POC + nothing else = weak setup. POC + cluster + OI alignment + GEX+ confirmation = strong setup.
Mistake 2: Ignoring Time of Day
Early session profiles (first 2 hours) are still forming. The POC hasn't settled. Trading off an immature profile is like reading the first chapter of a book and writing a review.
Wait for Initial Balance to complete (usually 30-60 minutes after session open) before making profile-based decisions.
Mistake 3: Fighting the Trend on Profile Signals
Price breaks above VAH in a strong uptrend. You see "price outside value area" and short it.
Bad idea. In strong trends, value areas get redefined. What looks like an "unfair value" extension is actually a new fair value being discovered. Only fade Value Area breaks in ranging markets. In trending markets, follow the breakout.
Related Articles
- V-Charting: The Complete Guide
- Liquidation Maps: See Where Bitcoin Will Bounce or Break Through
- GEX+: Gamma Exposure Guide for Crypto Traders
- How to Read Crypto Charts: A Complete Guide
FAQ
Q: How is Market Profile different from regular candlestick charts? A: Candlestick charts show WHERE price went (open, high, low, close). Market Profile shows HOW MUCH TIME and VOLUME price spent at each level. A candlestick tells you price touched $67,000. Market Profile tells you price spent 45 minutes and $50M of volume at $67,000 versus 2 minutes and $2M at $68,500. That distinction is the difference between guessing support/resistance levels and knowing where the market actually values the asset. POC (Point of Control) from profile data is consistently more reliable as a dynamic S/R level than any hand-drawn trendline.
Q: What's the minimum timeframe needed for a reliable Market Profile reading? A: For intraday trading, wait for Initial Balance to complete -- typically 30-60 minutes after session open. Trading off an immature profile (first 15-20 minutes) is like reviewing a book after reading one chapter; the POC hasn't settled and Value Area boundaries are meaningless. For swing trades, use daily profiles with at least 2-3 days of data for meaningful POC/VA development. The longer the profile builds, the more reliable its levels become.
Q: How does Kingfisher's LiqMap complement Market Profile analysis? A: They answer different questions that together create a complete picture. Profile tells you where price has spent time and volume (historical acceptance). LiqMap tells you where leveraged positions will cascade in the future (forward-looking fuel). When POC sits near a major liquidation cluster, you have both historical acceptance AND future magnetic pull aligned -- that's a high-confluence setup. When POC sits in open space on the LiqMap (no clusters nearby), the level has profile validity but lacks structural reinforcement. Always check both.
Q: Can I use Market Profile effectively on altcoins or only Bitcoin? A: Market Profile works best on high-liquidity assets where volume distribution is meaningful: BTC, ETH, and top-5 market cap coins have sufficient depth for reliable profiles. Below top-20 market cap, volume becomes thin and profile patterns get noisy -- a "POC" on a low-cap alt might represent $50K of volume, which one whale can manufacture. Use profile confidently on large caps; treat small-cap profile readings as suggestive, not definitive. Combine with LiqMap cluster data regardless of asset tier.
Q: What's the most common mistake traders make when using Market Profile? A: Fading Value Area breaks in strong trending markets. Price breaks above VAH (Value Area High) in an uptrend, you see "price outside fair value" and short it. Bad move. In strong trends, value areas get continuously redefined -- what looks like an unfair extension is actually new fair value being discovered. Only fade VA breaks in clear ranging markets (confirmed by flat OI and oscillating funding). In trends, follow the breakout and let profile tell you when value is being accepted in the new range.
Bottom Line
Market profile reveals what traditional charts cannot: where the market actually spent its time and money, not just where price happened to go. POC gives you the fairest price. Value Area gives you the acceptable range. Profile shape tells you who's winning.
Layer in LiqMap data (where fuel lives), GEX+ (how dealers react), and OI trends (trend strength), and you're not reading charts anymore -- you're reading market structure like the institutions do.
Stop guessing support and resistance. Start seeing the structure. View Kingfisher features to add LiqMap and GEX+ to your market profile analysis.
Access Free Market Profile Tools
Related:
Transform Your Crypto Strategy
Harness The Power of The Kingfisher's Comprehensive Market Intelligence!
Glossary
Learn key terms and concepts from our comprehensive crypto trading glossary.
Browse Glossary →Related Articles

Options Skew Templates for Perp Traders: Complete Guide to Using Skew Data on Kingfisher
Master options skew data for perpetual futures trading. Learn how to read and use Skew templates on Kingfisher, understand different template types (Basic, Vanilla, Premium), when each template works best, and how to combine skew analysis with LiqMap confirmation for high-probability crypto trading setups.

Getting Started on The Kingfisher: Stop Being Exit Liquidity
What problem does Kingfisher solve? See how liquidation maps reveal where price will go BEFORE it moves there. Stop getting hunted by whales. Start trading with an edge in 10 minutes.
How to Detect Crypto Market Manipulation in Real-Time
Stop being played by whales. Learn to spot crypto manipulation before it costs you money using Kingfisher's Toxic Order Flow and liquidation data. Real examples included.
Toxic Order Flow Bitcoin: Detect Market Manipulation in Real-Time
Stop being exit liquidity. Learn how toxic order flow (TOF) reveals when whales are hunting retail traders. Practical guide with step-by-step interpretation and trading strategies.